✅ Future-proofBuilt to keep working — even if the maker walks away.
It works locally over Z-Wave, so it keeps running even if Eaton shuts down the app or the servers. Nothing here ties you to a single company's survival.
Works locally over Z-Wave — keeps running without the maker's cloud
Still in production
Companion app is actively updated
Based on how this device connects (local vs. cloud), whether it’s still sold and supported, and its app / subscription. A guide, not a guarantee.
Connectivity
Z-Wave
Prices
No prices yet — be the first to add one.
Community tags
Be the first to tag this page — tags appear right away. Try a theme, capability, or subject (e.g. WWII, heist, slow burn, time travel, A24).
Community photos
Photos from members
No member photos yet.
Reviews
What members say
Sign in to rate Z-Wave Universal Dimmer and share a photo.
No reviews yet.
Community
Be the first to start a thread about Z-Wave Universal Dimmer
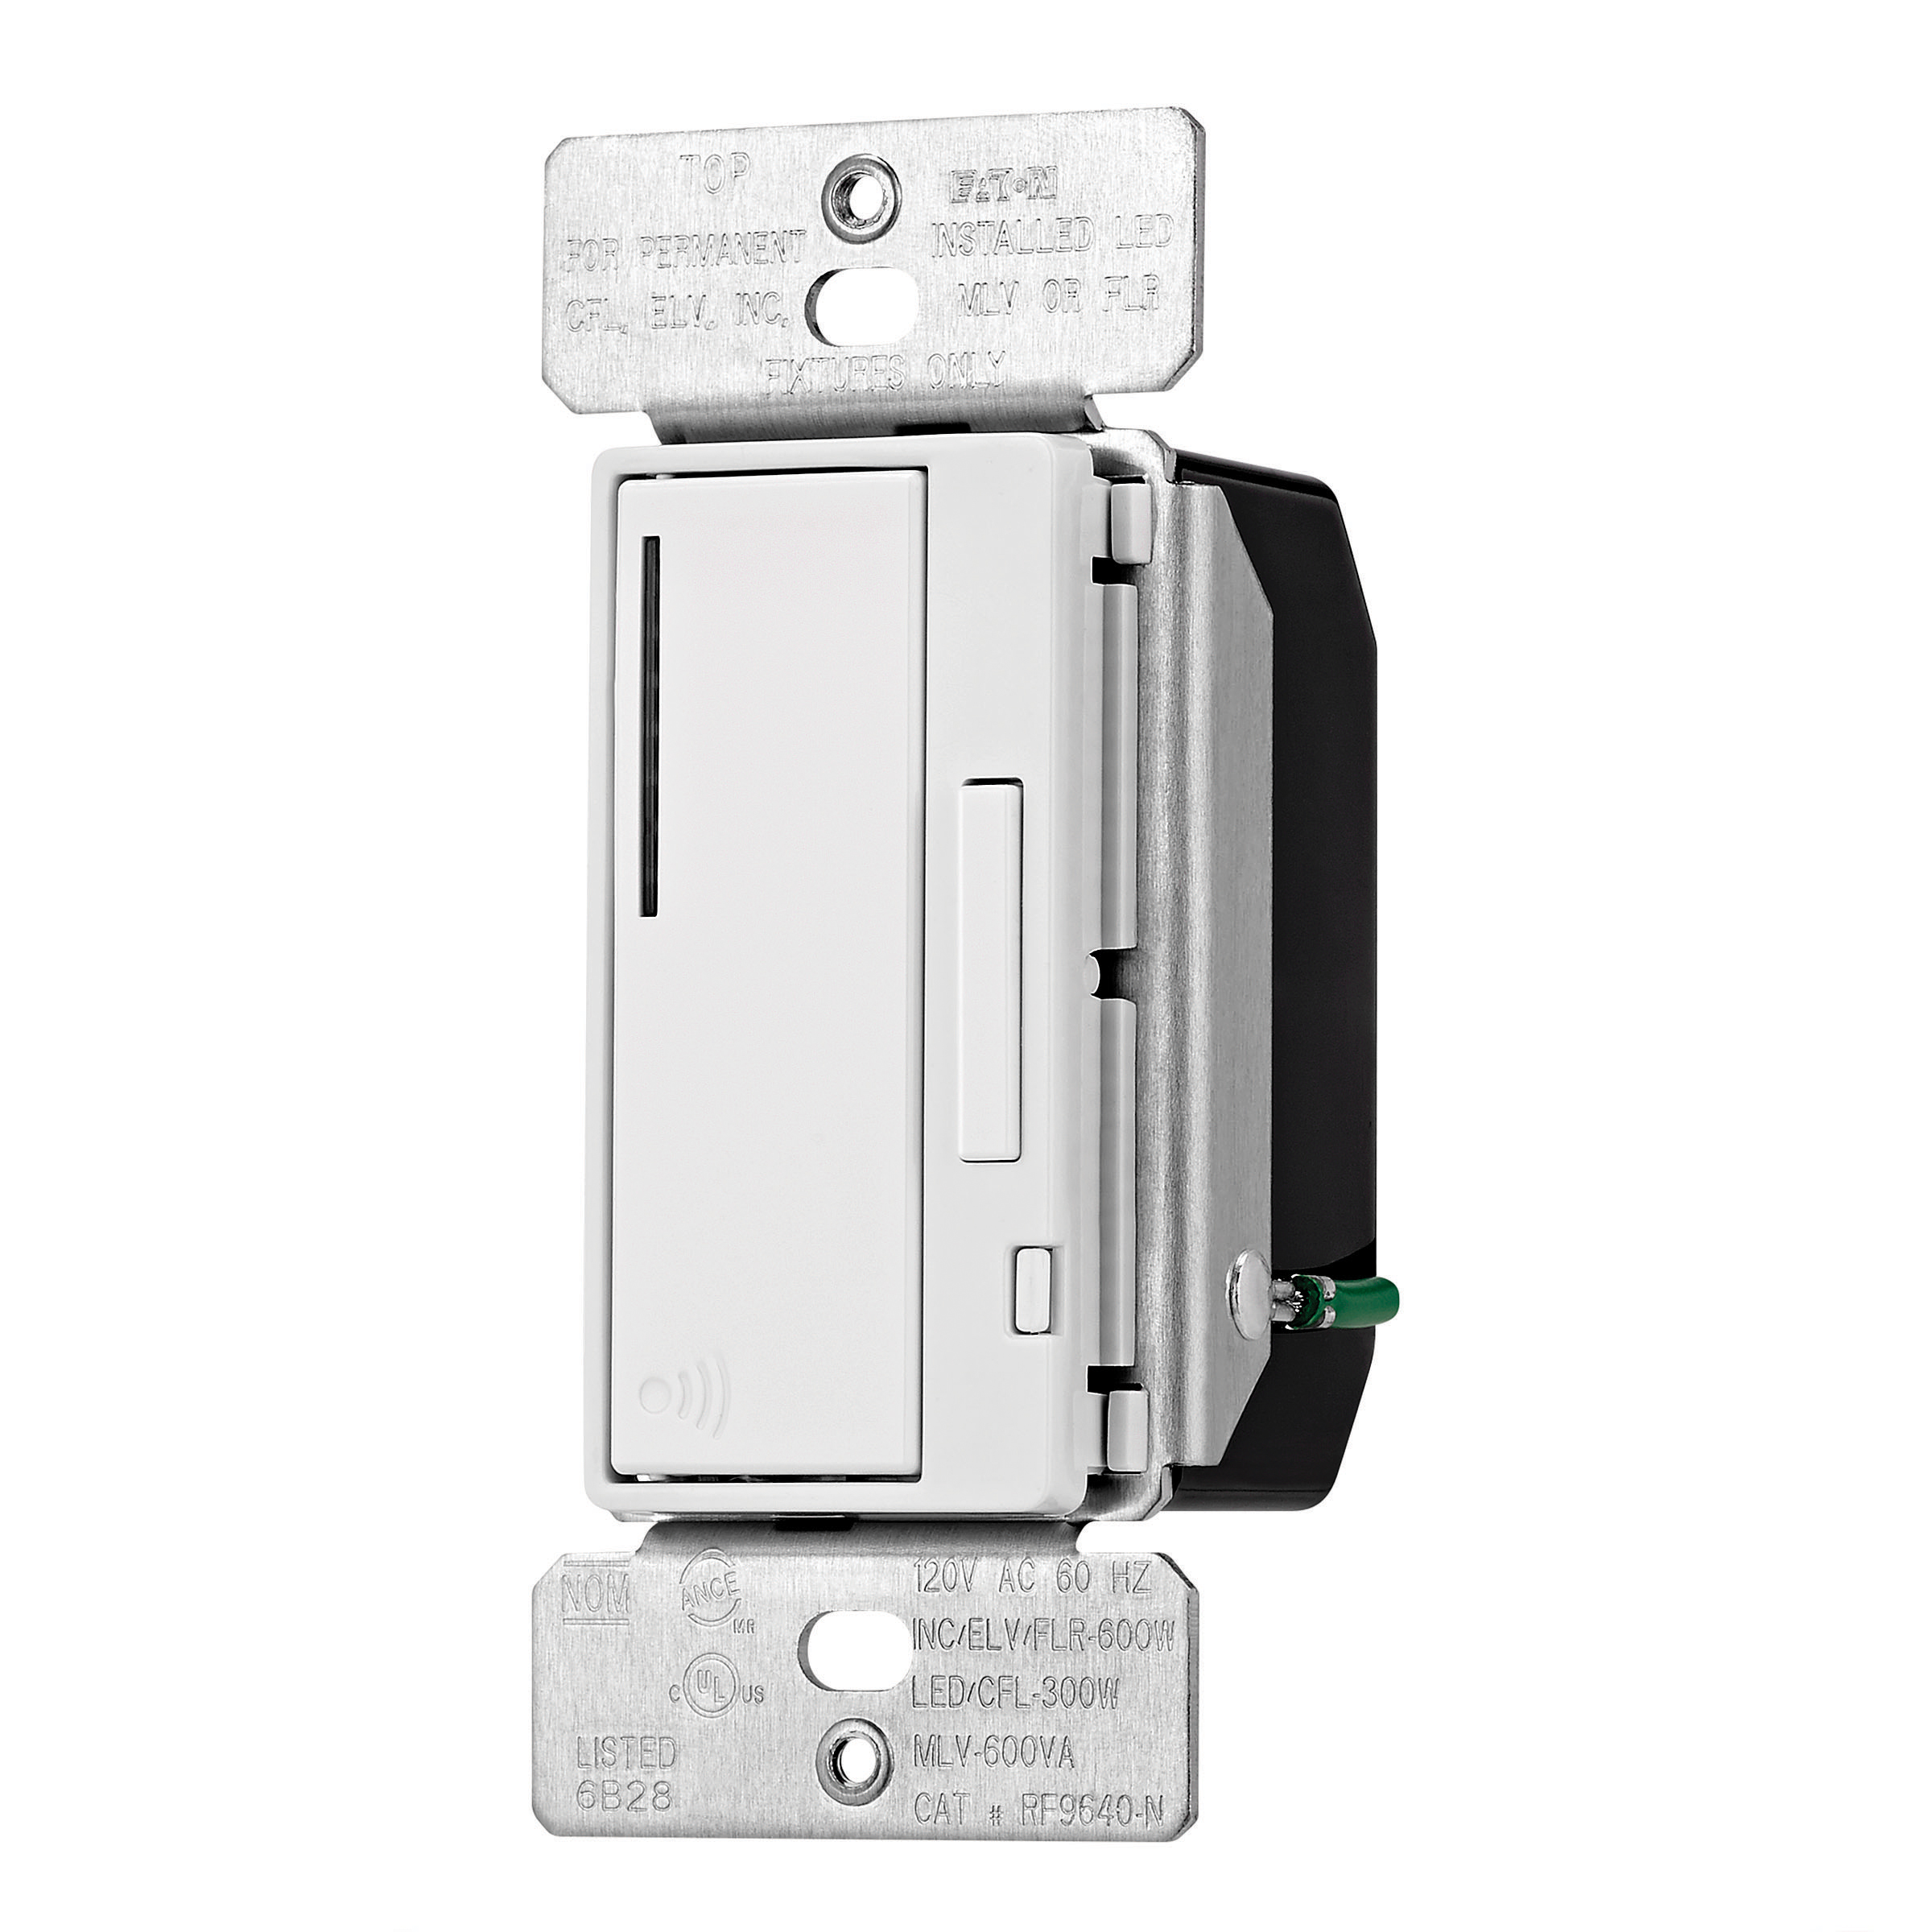
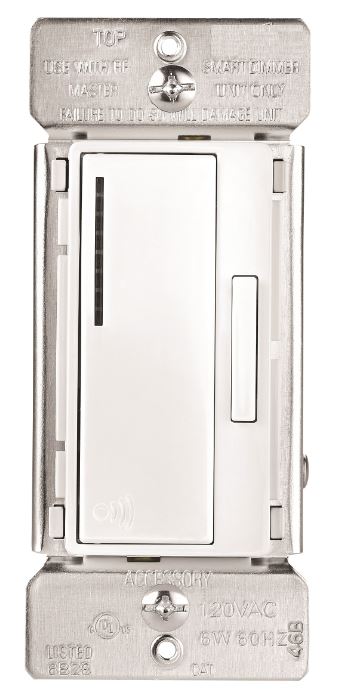
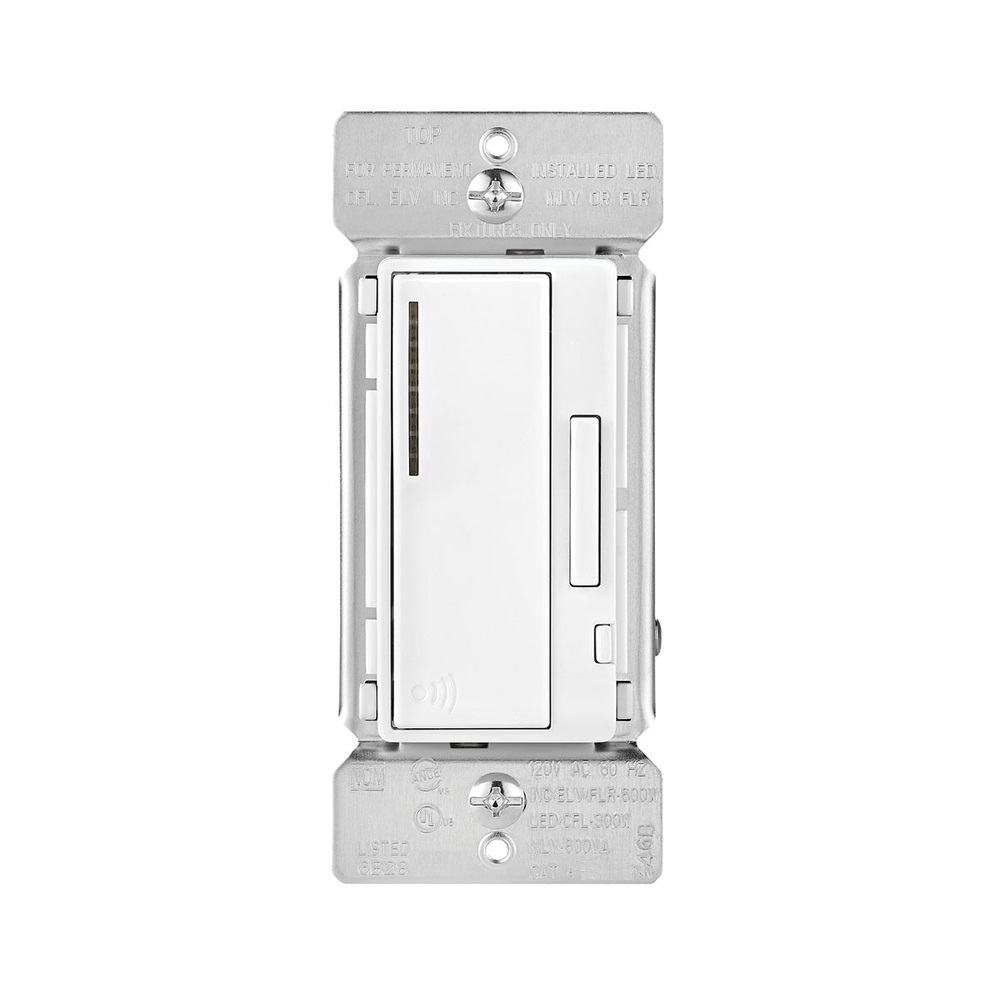
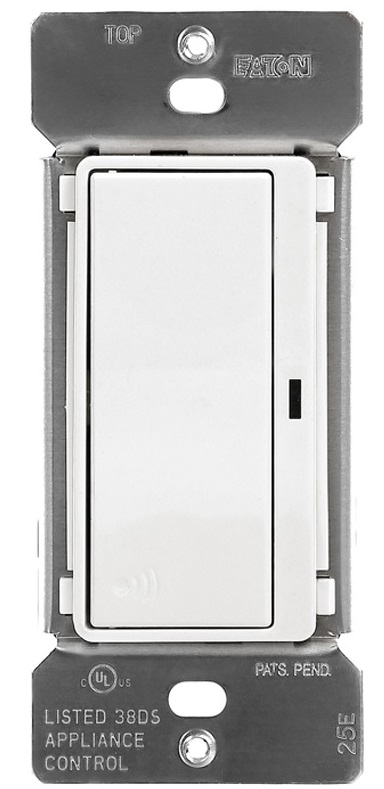
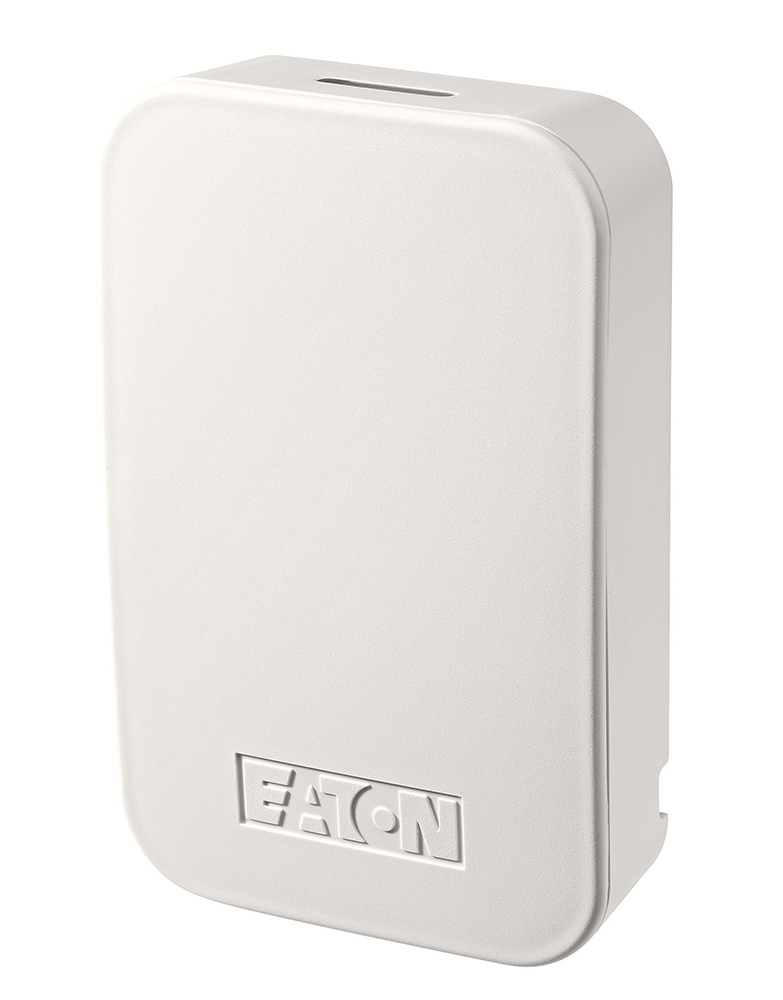
Eaton’s Z-Wave plus Universal dimmer replaces regular switches (where a neutral is present) to provide local and remote ON/OFF and Dim UP/Down control for most common residential lighting loads including LEDs and certain motor loads. Each dimmer can be manually and remotely controlled by commands sent from your compatible Z-Wave certified controller. Features & Benefits: • Replaces standard switch to add local and wireless control • Compatible with most common residential lighting loads including LED, CFLs, INC, MLVs, ELVs, HAL. • Single pole and 3-Way control: Use with Z-Wave Plus Accessory dimmer RF9642-Z • Neutral is required for installation *3-Way Wired installation • Features 7 step blue load indicating LED light that can be dimmed in ON or OFF state • Supports Z-Wave Plus technology including S2 Security certification for advanced encryption & cybersecurity • Voice and app based control when used with compatible Z-Wave controller
Want to buy adds it to your wish list and follows Eaton for updates. I own it adds it to your collection.
Eaton’s Z-Wave plus Universal dimmer replaces regular switches (where a neutral is present) to provide local and remote ON/OFF and Dim UP/Down control for most common residential lighting loads including LEDs and certain motor loads. Each dimmer can be manually and remotely controlled by commands sent from your compatible Z-Wave certified controller. Features & Benefits: • Replaces standard switch to add local and wireless control • Compatible with most common residential lighting loads including LED, CFLs, INC, MLVs, ELVs, HAL. • Single pole and 3-Way control: Use with Z-Wave Plus Accessory dimmer RF9642-Z • Neutral is required for installation *3-Way Wired installation • Features 7 step blue load indicating LED light that can be dimmed in ON or OFF state • Supports Z-Wave Plus technology including S2 Security certification for advanced encryption & cybersecurity • Voice and app based control when used with compatible Z-Wave controller
Hardware platform
ZM5101
Short description
Z-Wave Plus Universal Dimmer
Product identifier
RF9643-N
Countries / regions
United States of America
Supports smart start
Yes
Certification number
ZC10-21037013
Radio range z wave (m)
40
Configuration parameters
Parameter Number Name Description Format Size Min Value Max Value Default Value Parameter Values 4
Supports explorer frames
Yes
Supported command classes
Identifier Name Key Version COMMAND_CLASS_SCENE_ACTUATOR_CONF
Controlled command classes
Identifier Name Key Version COMMAND_CLASS_ASSOCIATION_V2
Value updatable by consumer by rf neutral wire required color value white loads controlled value 4 switch load capacity watts value 300 z wave scene type value scene association groups
Group Number Maximum Nodes Supported End Point ID Group Name Description 2
From to description 0 0 not used 9 reset max/min levels to factory default before leaving the network the dimmer will send a notification to the controller indicating its departure from the z wave network. • turn the device on. • press and hold on/off button for 20 second till the led flashes for the fifth time. (third time for rf9642 z) • release the on/off button. • led will start flashing rapidly. once the led starts blinking slowly, that indicates the device is not part of the network. 1 1 0 0 0 from to description 0 0 reset max/min levels to factory default 10 not used n/a 1 1 0 0 0 from to description 0 0 not used 5 power up state 1=off, 2=on, 3=last state 1 1 1 3 1 from to description 1 3 power up state 8 kickstart enable/disable this feature ensures that led/cfl lights turn on when the dimmer preset level is low. with this setting enabled, the lights may momentarily come on brighter than the preset level (less than one second) and then dim down to the preset level. depending on the type of light used, this feature may not be needed. to enable/disable the feature, turn lights on. press and hold the on/off button for 10 seconds until the blue indicator leds flash for the third time, then release the button. this feature is disabled by default. 1 1 0 1 0 from to description 0 1 kickstart enable/disable 7 dimmer ramp time sets the value of how long it takes to ramp up the dimmer 1 1 0 127 3 from to description 0 127 dimmer ramp time 2 panic on time how long the device will stay on in panic mode 1 1 0 127 1 from to description 0 127 panic on time 6 panic mode enable set the device panic mode to on or off 1 1 0 1 0 from to description 0 1 panic mode enable 3 panic off time how long before the device shuts off panic mode 1 1 0 127 1 from to description 0 127 panic on time 1 delayed off time when the user holds the button for 2 seconds while the dimmer is on the dimmer will turn off after delayed off time. 1 1 0 127 10 from to description 0 127 delayed off time 11 set minimum dimming level for maximum compatibility with different load types, rf9643 n allows the user to set the minimum dim level or low end trim. also to save on power consumption rf9643 n allows the user to set the maximum dim level or high end trim. • after adding the dimmer to a network, press on/off button to turn on the overhead light. • press and hold on/off button for five seconds until the blue indicator leds begin to cycle rapidly (notice after two seconds blue indicator leds will start to flash indicating activation of the ‘delayed off’ feature. continue to hold the on/off button for three additional seconds until the blue indicator leds begin to cycle rapidly.) • once the indicator leds start cycling, release the on/off button. dimmer will set the light to the previously saved minimum level. during initial setup, the light will set to the factory minimum default. • press either the brighten or dim buttons to change the minimum level until the light output is acceptable. • once light output is acceptable, press on/off button once. blue indicator leds will start to cycle rapidly again and the dimmer light will go to previously saved maximum level. • press either the brighten or dim buttons to change the maximum level until the light output is acceptable. • press on/off button once, led will flash indicating completion of programming. 1 1 1 99 1 from to description 1 99 set minimum dimming level texts