✅ Future-proofBuilt to keep working — even if the maker walks away.
It works locally over Z-Wave, so it keeps running even if Oomi shuts down the app or the servers. Nothing here ties you to a single company's survival.
Works locally over Z-Wave — keeps running without the maker's cloud
Still in production
Based on how this device connects (local vs. cloud), whether it’s still sold and supported, and its app / subscription. A guide, not a guarantee.
Connectivity
Z-Wave
Prices
No prices yet — be the first to add one.
Community tags
Be the first to tag this page — tags appear right away. Try a theme, capability, or subject (e.g. WWII, heist, slow burn, time travel, A24).
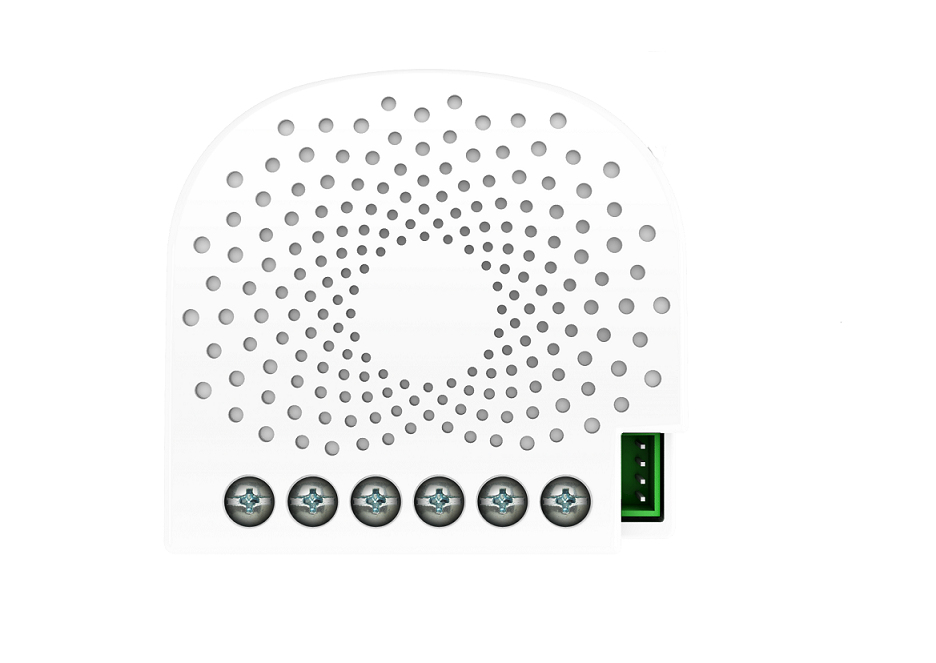
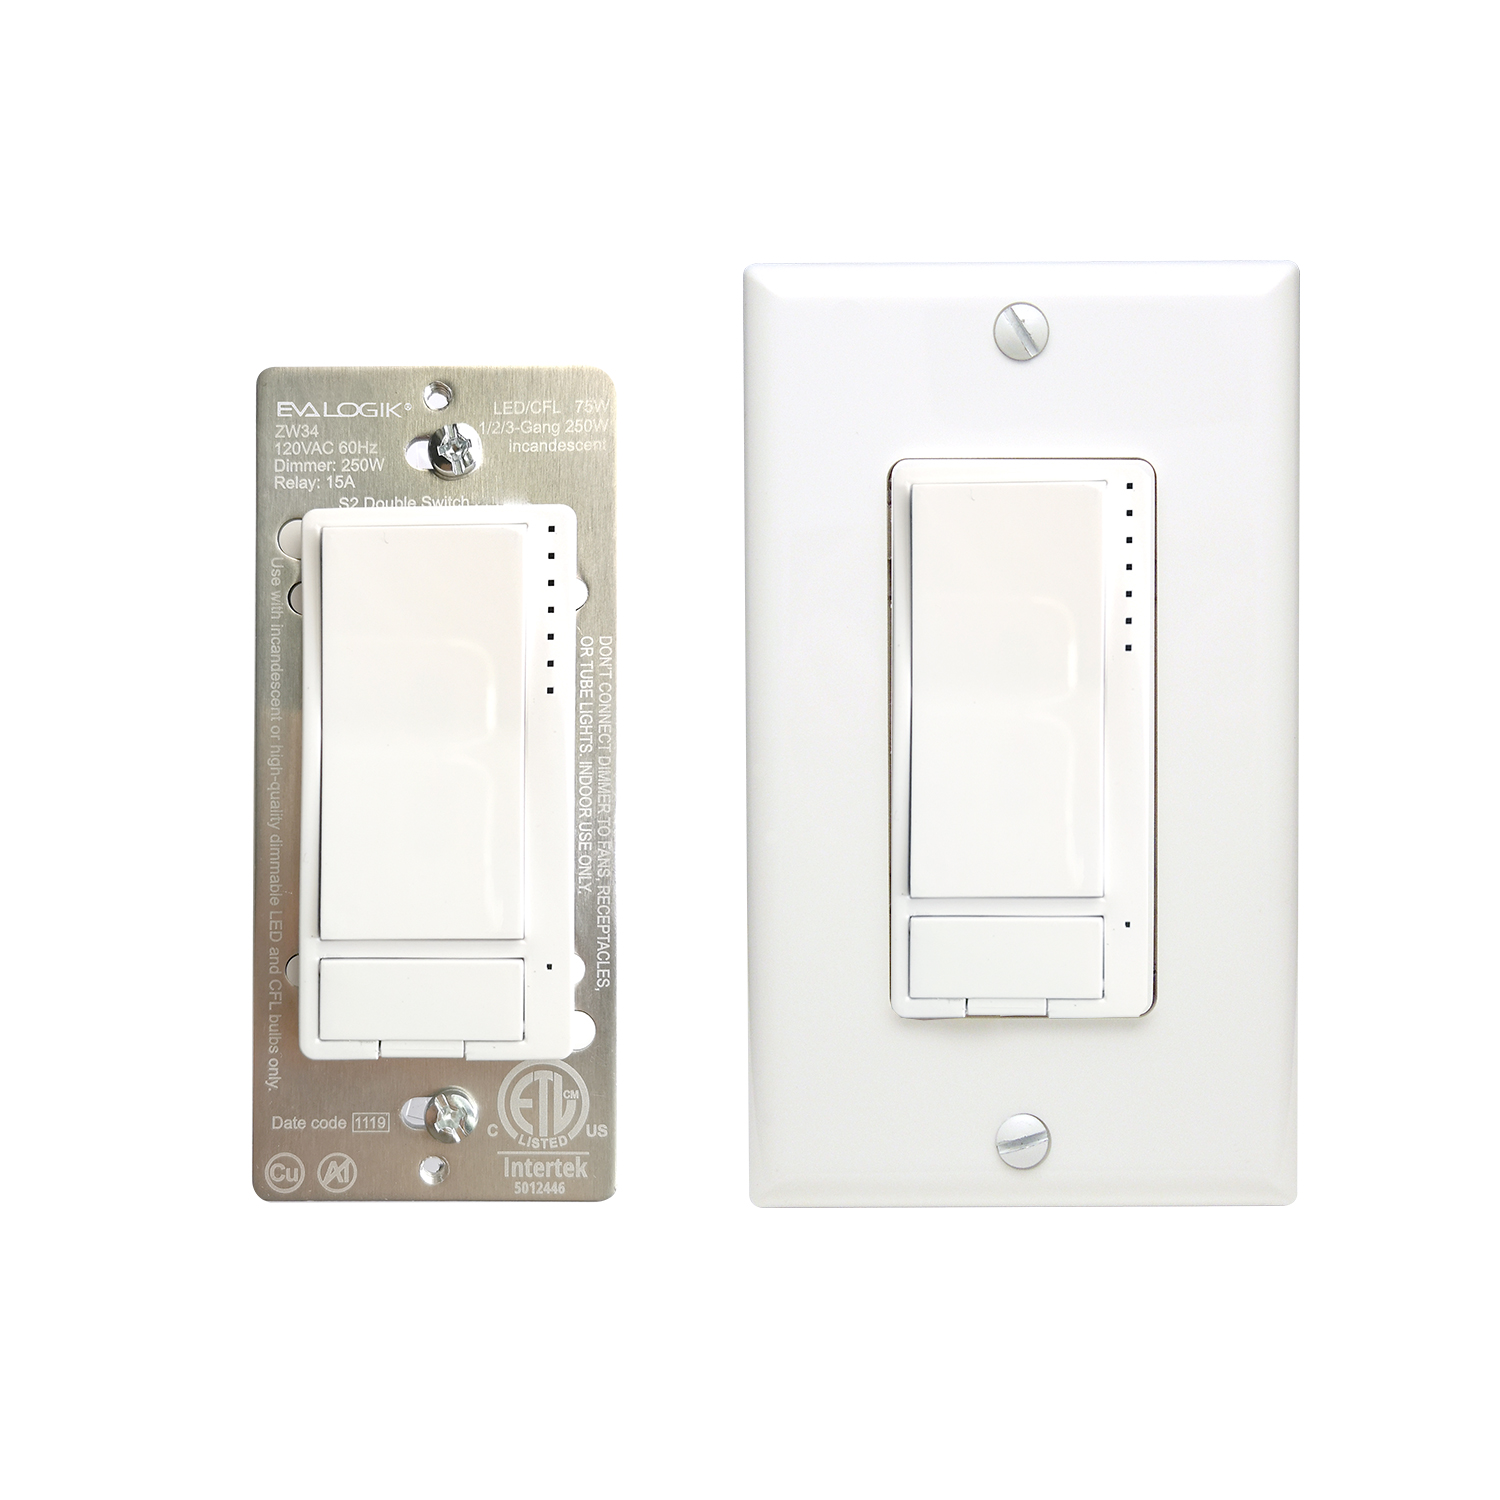
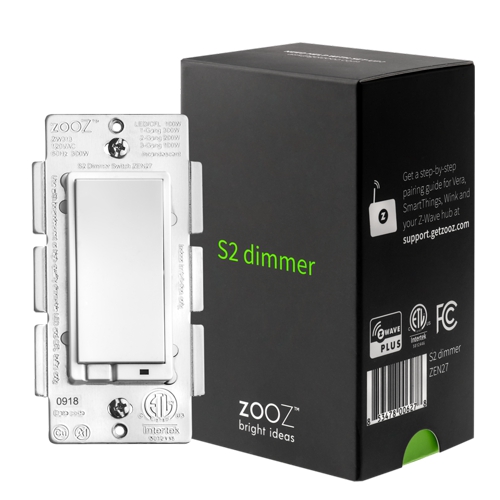
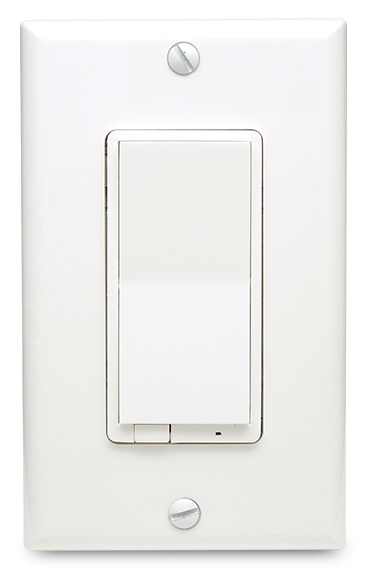
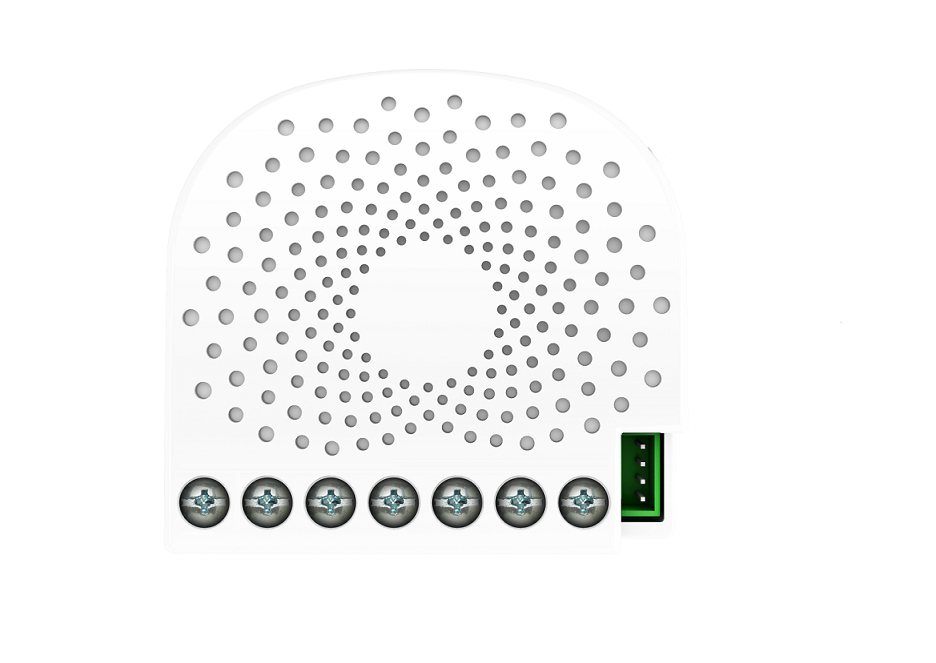
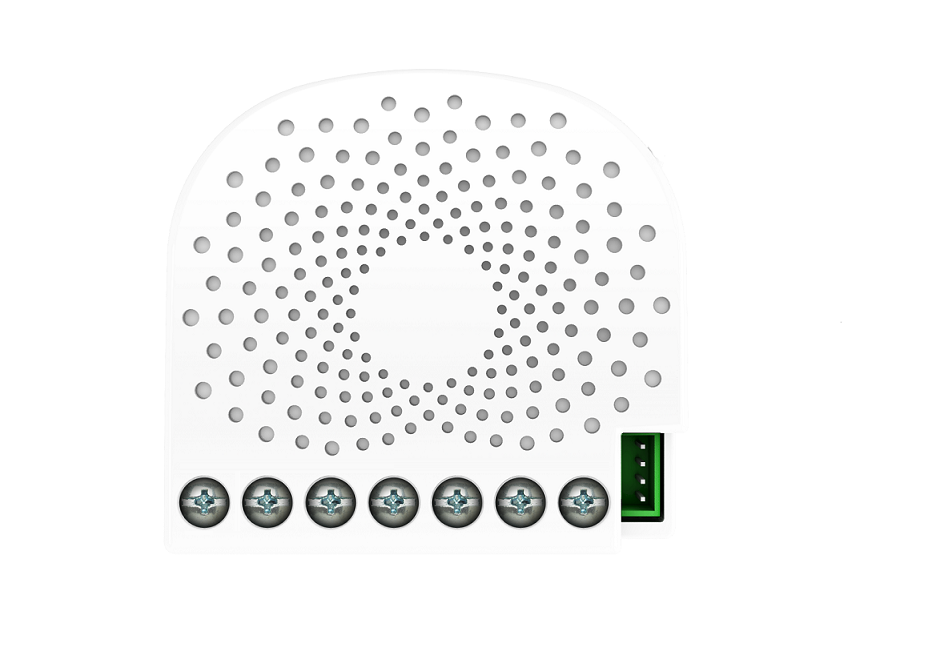
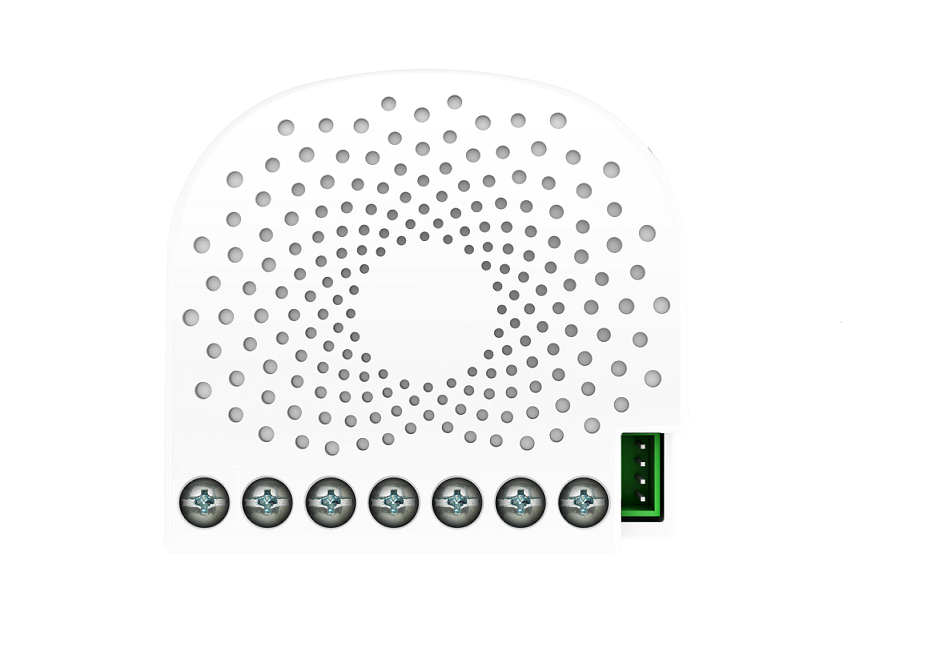
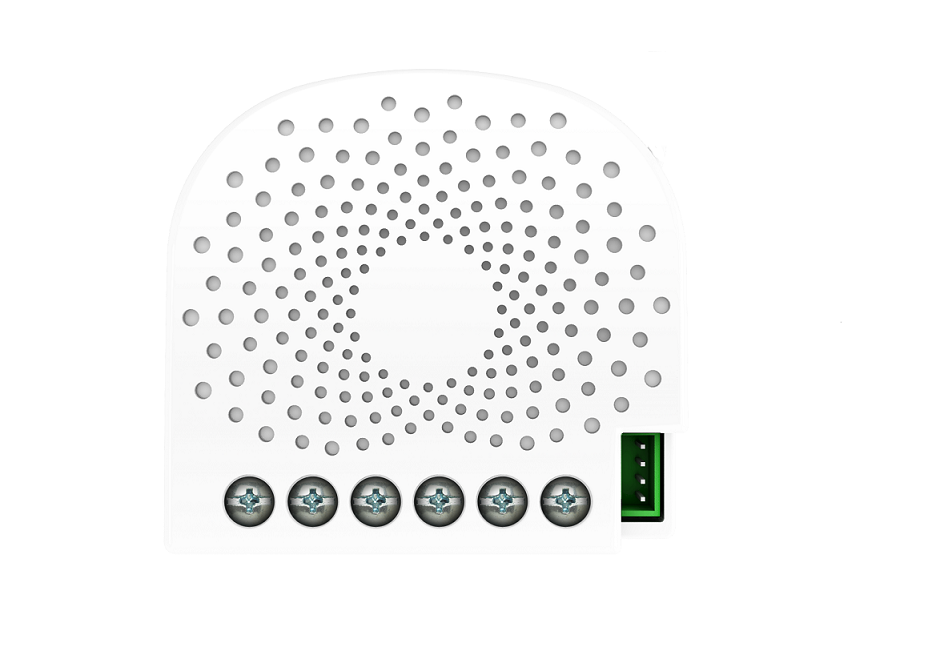
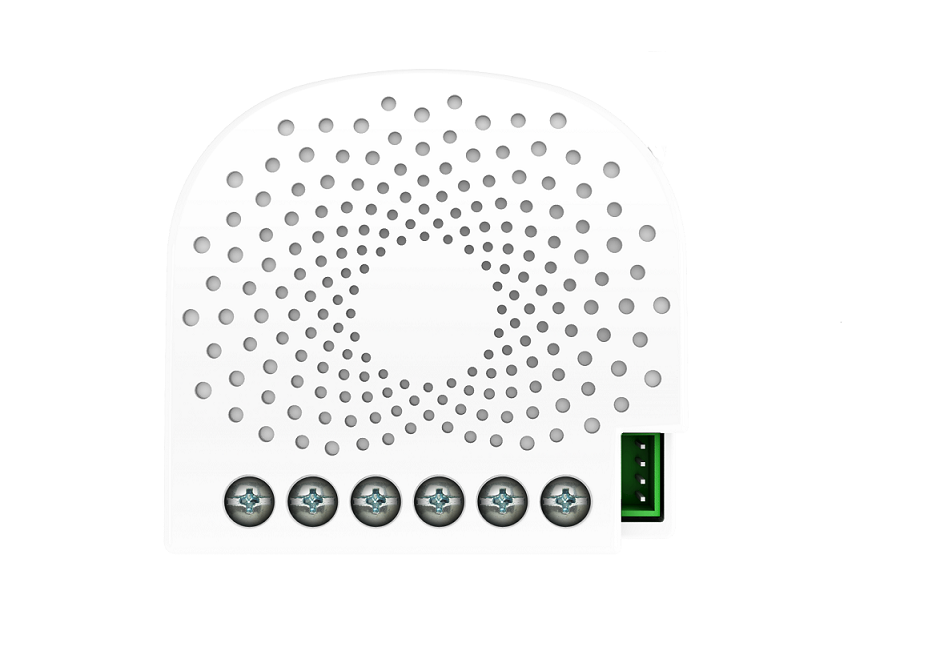
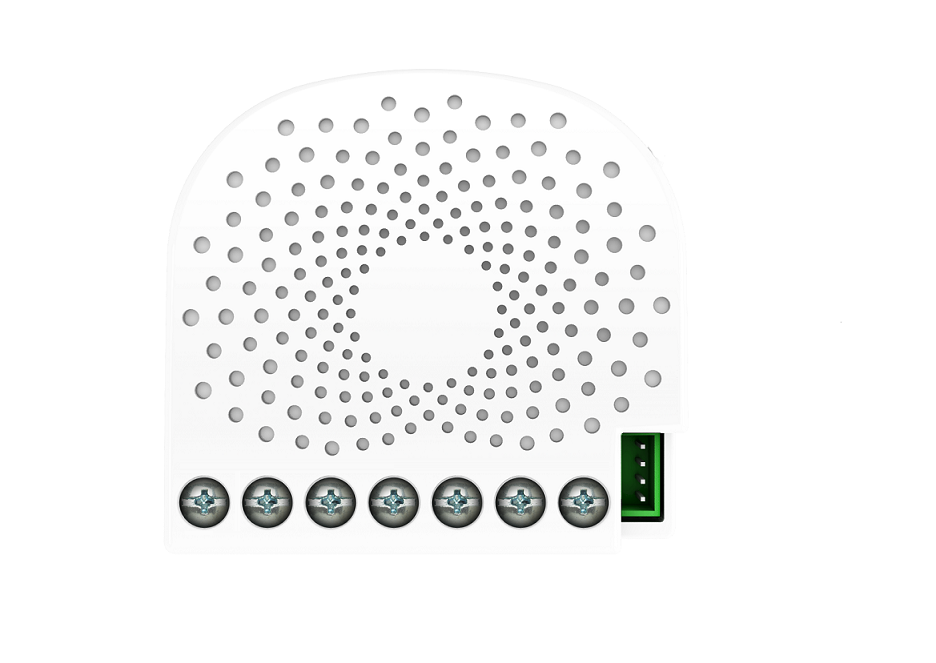
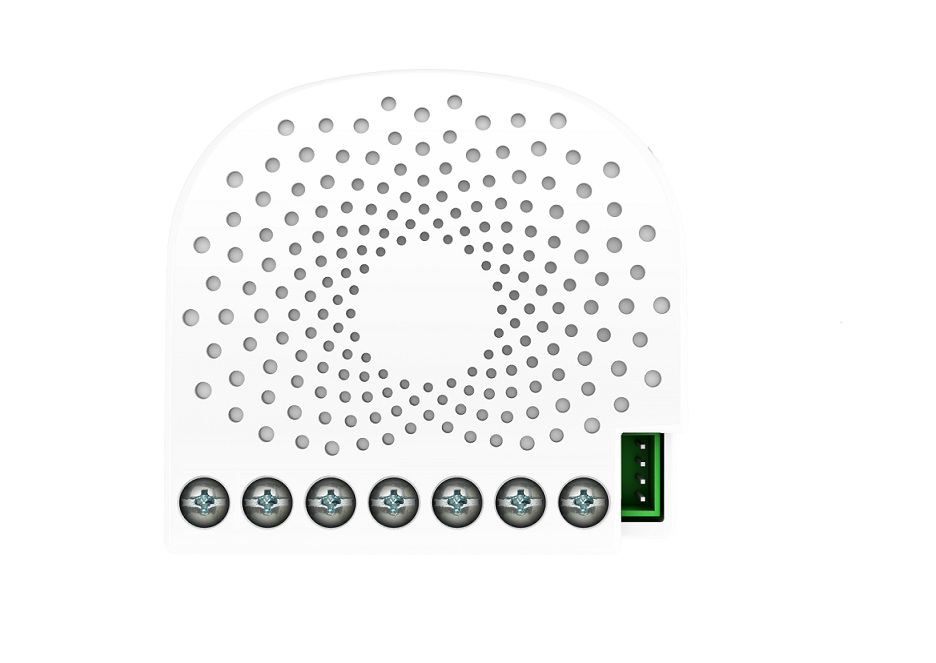
Oomi In-Wall Dimmer is a Z-Wave Smart Dimmer specifically used to enable Z-Wave command and control (on/off/dim) of any wall switches. It can report immediate wattage consumption or kWh energy usage over a period of time. In the event of power failure, non-volatile memory retains all programmed information relating to the unit’s operating status. It can connect to 2 external manual switches to control the load ON/OFF independently. Its surface has a pin socket, which can be used for connecting to the touch panel, so you can also use the touch panel to control the Nano Dimmer. The In-Wall Dimmer is also a security Z-Wave plus device and supports Over The Air (OTA) feature for the products firmware upgrade.
Want to buy adds it to your wish list and follows Oomi for updates. I own it adds it to your collection.
Oomi In-Wall Dimmer is a Z-Wave Smart Dimmer specifically used to enable Z-Wave command and control (on/off/dim) of any wall switches. It can report immediate wattage consumption or kWh energy usage over a period of time. In the event of power failure, non-volatile memory retains all programmed information relating to the unit’s operating status. It can connect to 2 external manual switches to control the load ON/OFF independently. Its surface has a pin socket, which can be used for connecting to the touch panel, so you can also use the touch panel to control the Nano Dimmer. The In-Wall Dimmer is also a security Z-Wave plus device and supports Over The Air (OTA) feature for the products firmware upgrade.
Hardware platform
ZM5101
Short description
Oomi In-Wall Dimmer is a Z-Wave Smart Dimmer specifically used to enable Z-Wave command and control (on/off/dim) of any wall switches also provides energy metering.
Product identifier
FT111-B
Countries / regions
Australia
Certification number
ZC10-17035486
Configuration parameters
Parameter Number Name Description Format Size Min Value Max Value Default Value Parameter Values 82
Supports explorer frames
Yes
Supported command classes
Identifier Name Key Version COMMAND_CLASS_SCENE_ACTUATOR_CONF
Controlled command classes
Identifier Name Key Version COMMAND_CLASS_BASIC
Supported / controlled meter types
Meter Type Rate Type Description Electric meter
Value updatable by consumer by rf neutral wire required supported meter type value electric energy switch type value toggle z wave scene type value scene color value white electric load type value incandescent fluorescent elv (electronic) led dimmable led inductive (e.g. motor) association groups
Group Number Maximum Nodes Supported End Point ID Description 2
From to description 0 0 send nothing 1 1 send basic set cc 81 to set which notification would be sent to the associated nodes in association group 3 to set which notification would be sent to the associated nodes in association group 3 when using the external switch 1 to switch the loads. 0 1 0 0 1 from to description 1 1 send basic set cc 0 0 send nothing 90 enables/disables parameter 91 and 92 below: enables/disables the function of parameter 91 and 92. 0 1 0 0 0 from to description 0 0 disable 1 1 enable 86 set appointment 2 set the on time of output load. 0 4 0 0 2293760 from to description 16777215 16777222 the day value (mon to sun) 0 99 the brightness level 256 316 the minute value of on time 65536 65560 the hour value of on time 92 set the threshold value of wattage. threshold change in wattage (in terms of percentage) to induce an automatic report. 0 1 0 0 5 from to description 0 100 the thershold value range is 0 to 100 100 set parameter 101 103 to default value. set parameter 101 103 to default value. 0 1 0 0 0 from to description 0 0 reset the parameter 101 103 101 to set which reports need to be sent in report group 1. to set which reports need to be sent in report group 1. 0 4 0 0 0 102 to set which reports need to be sent in report group 2. to set which reports need to be sent in report group 2. 0 1 0 0 0 from to description 1 1 send meter report of voltage (v) 4 4 send meter report of wattage (w) 2 2 send meter report of current (a) 8 8 send meter report of energy (k wh) 103 to set which reports need to be sent in report group 3. to set which reports need to be sent in report group 3. 0 1 0 0 0 from to description 2 2 send meter report of current (a) 4 4 send meter report of wattage (w) 8 8 send meter report of energy (k wh) 1 1 send meter report of voltage (v) 110 set parameter 111 113 to default value. set parameter 111 113 to default value. 0 1 0 0 0 from to description 0 0 reset the parameter 111 113 111 set the interval of automatic report for report group 1. set the interval of automatic report for report group 1. 0 4 0 0 3 from to description 1 2147483647 the range of interval time is 1 to 2147483647. 112 set the interval of automatic report for report group 2. set the interval of automatic report for report group 2. 0 4 0 0 600 from to description 1 2147483647 the range of interval time is 1 to 2147483647. 113 set the interval of automatic report for report group 2. set the interval of automatic report for report group 3. 0 4 0 0 600 from to description 1 2147483647 the range of interval time is 1 to 2147483647. 120 configure the external switch mode for s1. configure the external switch mode for s1. 0 1 0 0 0 from to description 0 0 enter automatic identification mode 1 1 momentary push button mode 2 2 3 way switch mode 3 3 2 state switch mode 121 configure the external switch mode for s2. configure the external switch mode for s2. 0 1 0 0 0 from to description 1 1 momentary push button mode 2 2 3 way switch mode 3 3 2 state switch mode 0 0 enter automatic identification mode 122 get the state of touch panel port get the state of touch panel port 0 1 0 0 0 from to description 0 0 the touch panel is not connected. 5 5 the touch panel is connected. 123 set the control destination for external switch s1 set the control destination for external switch s1 0 1 0 0 3 from to description 1 1 control the output loads of itself. 3 3 control the output loads of itself and other nodes. 2 2 control the other nodes 124 set the control destination for external switch s2 set the control destination for external switch s2. 0 1 0 0 3 from to description 1 1 control the output loads of itself. 2 2 control the other nodes. 3 3 control the output loads of itself and other nodes 125 set the default dimming rate. set the default dimming rate. 0 1 0 0 3 from to description 1 255 the value range is 1 to 255 seconds. 128 get the current working mode get the current working mode. note: this parameter is a get only parameter. 0 1 0 0 0 from to description 0 0 unknown working mode. 1 1 2 wire mode 2 2 3 wire mode 129 set the dimming principle set the dimming principle. 0 1 0 0 1 from to description 0 0 trailing edge mode 1 1 leading edge mode 130 to get what type of load the dimmer is connected to. to get what type of load the dimmer is connected to. note: this parameter is a get only parameter. 0 1 0 0 0 from to description 1 1 resistive load 2 2 capacitive load 3 3 inductive load 0 0 unknown load. 131 set the min brightness level that the load can reach to. set the min brightness level that the load can reach to. 0 1 0 0 0 from to description 0 99 the level range is 0 to 99. 132 set the max brightness level that the load can reach to. note: set the max brightness level that the load can reach to. note: 0 1 0 0 99 from to description 0 99 the level range is 0 to 99. 249 set the recognition way of load set the recognition way of load 0 1 0 0 2 from to description 0 0 never recognize the load when power on 1 1 only recognize once when first power on 2 2 recognize the load once power on 252 lock/unlock configuration parameters lock/unlock configuration parameters. 0 1 0 0 0 from to description 0 0 unlock 1 1 lock 255 reset the in wall dimmer reset the in wall dimmer to factory default. 0 4 0 0 0 from to description 0 0 reset all configuration parameters to factory default setting 1431655765 1431655765 reset to factory default setting and removed from the z wave network 91 set the threshold value of wattage. threshold change in wattage (in terms of wattage) to induce an automatic report. 0 2 0 0 25 from to description 0 60000 the thershold value range is 0 to 60000 3 current overload protection. output load will be turned off automatically after 30 seconds and if the current overrun 1.5 a. 0 1 0 0 1 from to description 1 1 enable 0 0 disable 4 overheat protection. output load will be turned off automatically after 30 seconds and if the temperature of product inside exceeds 100 ℃. 0 1 0 0 0 from to description 0 0 disable 1 1 enable 80 to set which notification would be sent to the associated devices (group 1) to set which notification would be sent to the associated devices (group 1) when the state of nano dimmer’s load is changed. 0 1 0 0 0 from to description 0 0 send nothing 1 1 send hail cc 2 2 send basic cc report 3 3 send multilevel switch report 4 4 send hail cc when using the manual switch to change the load state. 85 set appointment 1 set the on time of output load. 0 4 0 0 1573017 from to description 16777215 16777222 the day value (mon to sun) 256 316 the minute value of on time 65536 65560 the hour value of on time 0 99 the brightness level texts